I originally meant to post this last summer, when it seemed that–almost literally–everyone was on the sourdough bread baking kick. I surprised myself being among that horde, having spent most of my life unapologetically not a bread-baker. As if by prescience, though just dumb luck, I’d spend a weekend early February of last year with my friend Katherine who’d gone deep into the world of home bread baking. (She would, later that year, go on to found the amazing Community Loaves organization that has seen, to date, a pool of over 900 home bakers contribute over 22,000 loaves of their signature bread to area food banks.) With Katherine’s encouragement–plus some of her starter to start me off–I slowly gained confidence with the natural leavening, folding and forming the dough, figuring out how to bring the best out in those loaves.
Working toward quality bread is aided, in large part, by the outstanding flour I’m lucky enough to use. A two-hour drive nor th of Seattle puts me in Skagit Valley where I’ve driven to stock up on flours from Cairnspring Mills (both Trailblazer and Sequoia all-purpose, and Expresso whole grain) and Fairhaven Mill (rye flour), in bulk. Fifty-pound bags (four of them so far) for the former, twenty five pounds of the latter. I am, clearly, committed.
Just over one year in, I’m still a newbie. I’ve hit something of a stride with a particular balance of flours, timing and process that seems to work. It’s going to be ages before I master the art of scoring. And it may be a while before I venture into other loaves and methods for making them. For now, I’m thrilled with the simple pleasure of a flavorful homemade loaf to slice for morning toast with butter and jam.
All that bread baking leaves one with plenty of sourdough discard. Recipes for using that up became a whole subgenre of pandemic baking. A few favorites I’ve landed on include using it for rye crackers, pizza dough and this find of chocolate chip cookies from a recent issue of Martha Stewart Living magazine.
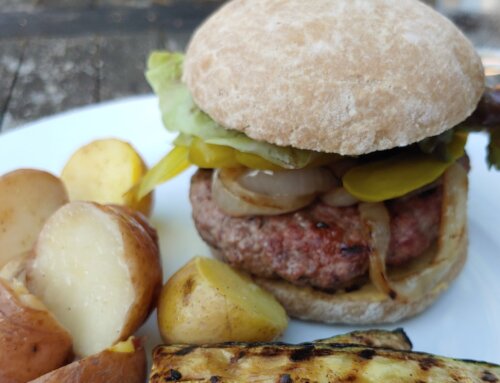
One of those summer days last year our CSA delivery included a gorgeous eggplant and I’d landed on making a batch of baba ganoush with it. Where usually I’d have walked over to the fridge to write down “pita bread” on the shopping list for accompanying the dip, I instead wrote “make pita bread” on my calendar for the next morning, since trips to the grocery store were much more infrequent last year. I’ve been making pita bread now and then from Joan Nathan’s The Foods of Israel Today cookbook. That’s a fabulous yeast-based recipe that I highly recommend: very easy, not too long to make, great results. Trust this longtime non-bread-baker that it is much easier to make pita bread 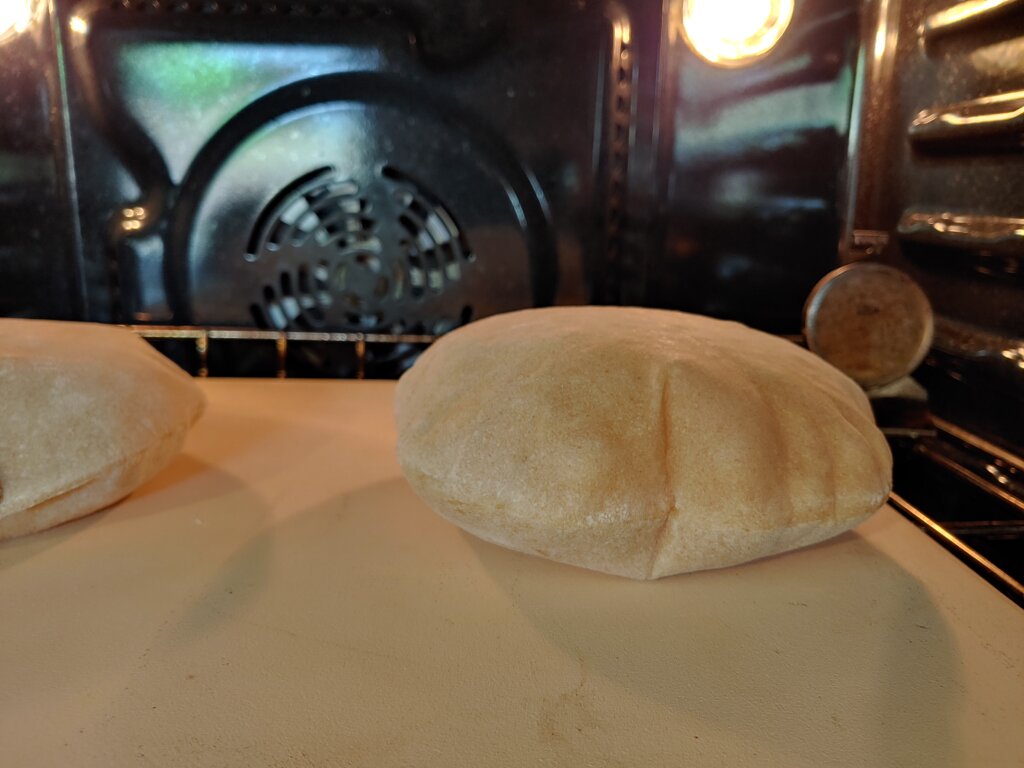 than most think.
But that summer morning, I wondered about tweaking the recipe to use some of the abundant discard I was collecting. So began some tests and adjustments over a number of batches, with input from a more-avid-than-me home baker for other test runs. This recipe below, founded on Joan’s original, has worked for me and my friend Dave on a number of occasions. To quote Dave: “Holy cow! It’s like magic, dough balloons!” And it does feel like magic each batch I make, I never tire of watching them puff up in that brief few minutes of oven time.
I gather everyone’s starter is a bit different, hydration levels variable, types of flour used influencing the dough outcomes. While professional bakers swear by to-the-gram precision for ingredient portions, I make my best effort with a scale that jumps in 5-gram increments and figure/hope things will work out. Further proof I’m really a cook who’s dabbling in baking. But I’ve had great results with this recipe many times this past year, with encouragement from Dave’s input as well.
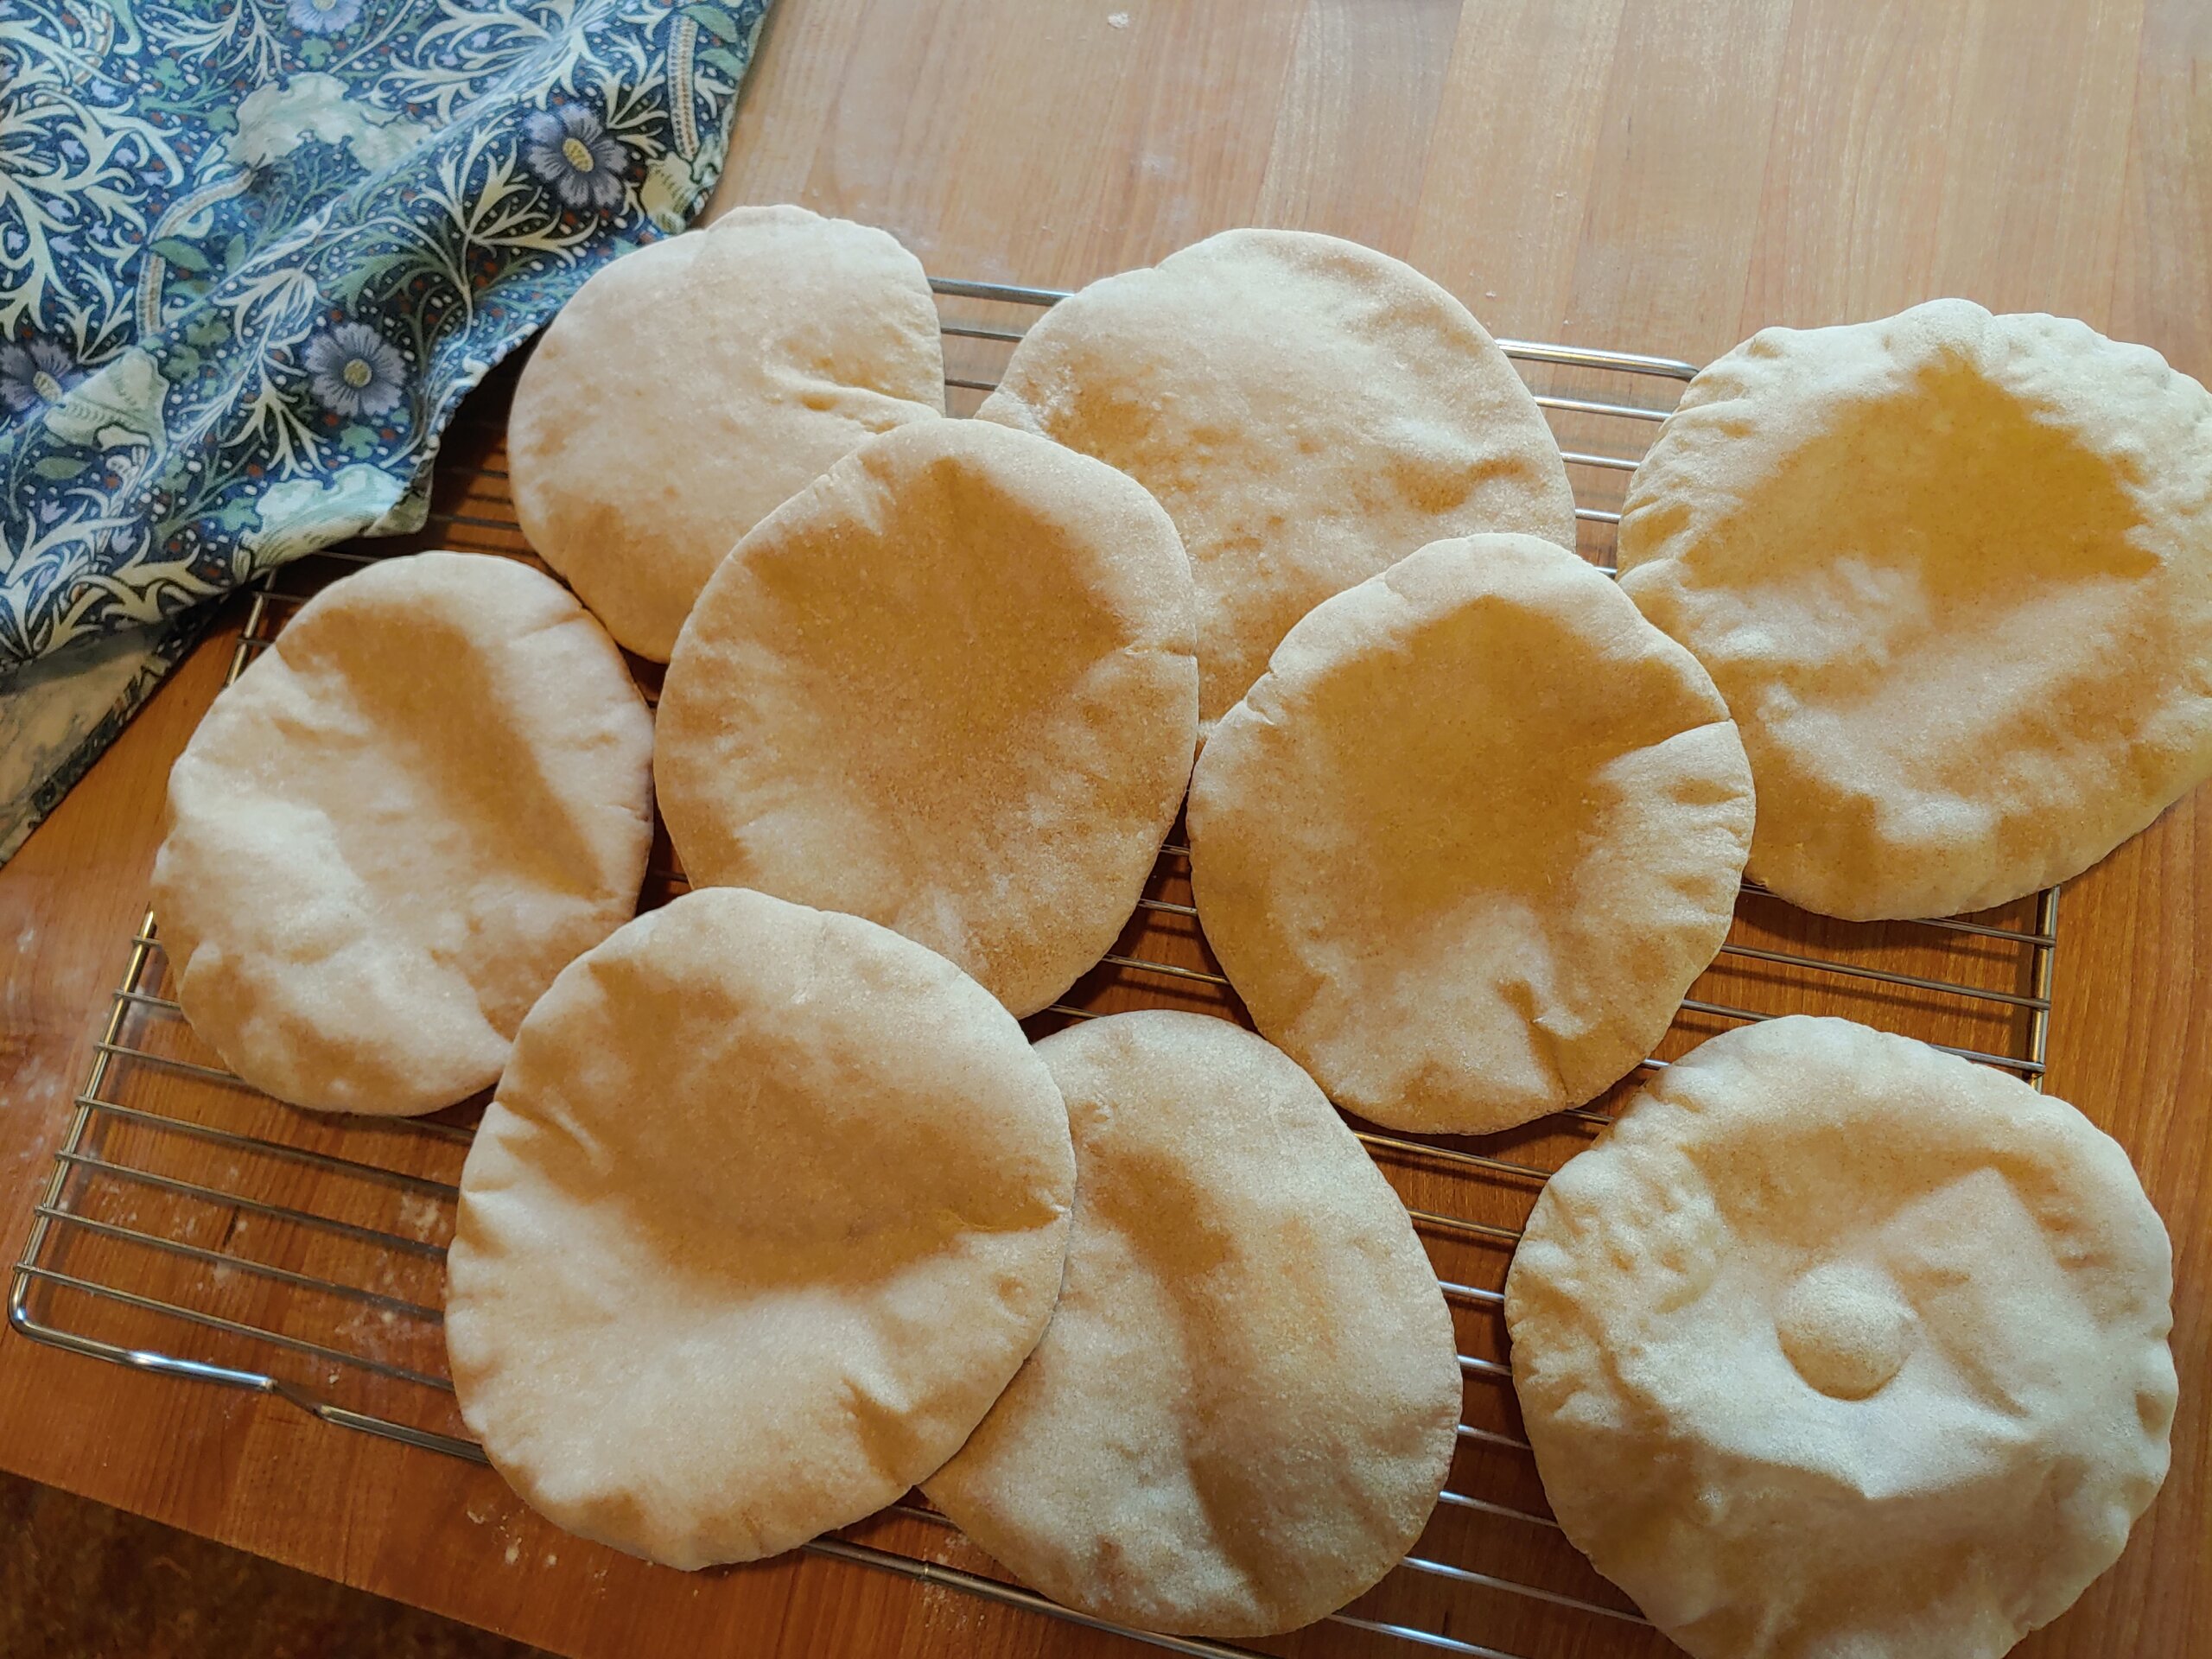
Pita Bread with Sourdough Starter Discard
(adapted from Joan Nathan’s pita bread recipe in The Foods of Israel Today)
Joan’s yeasted original recipe is great as is. For my first couple of attempts with discard, I used a teaspoon of instant yeast as insurance, in case the starter didn’t do the trick, which you can do too if you’d like. But once I kicked off the training wheels, the batches I’ve made since then without yeast have worked just fine. The pita are best enjoyed soon after baking; extras I stick in the freezer. Any pita a bit past prime are great candidates for homemade pita chips.
I have used a pizza stone for all but one recent batch of pita bread I’ve made. I ran through the baking sheet option mentioned below, and realize I’ll stick with the pizza stone for quicker and more consistent puffing. The baking sheet option works okay: a few puffed completely, some puffed partway and others not at all. The bread itself is still quite good – it just may not form the pita pocket. The sheet also needed a couple extra minutes baking time, especially for pita that were thicker for not having puffed up.
3 cups all-purpose flour (about 400 grams)
1 teaspoon fine sea salt
1 cup (about 275 grams) sourdough starter discard
3/4 cup warm water*, more if needed
1 tablespoon olive oil
*because the starter is contributing a portion of the dough’s liquid, the proportion of water in your starter will impact the exact amount of water needed for this recipe; so will the specific type of flour used.
Stir together the flour and salt in the bowl of a mixer fitted with the dough hook and make a well in the center. Add the starter, water and olive oil to the well (with a teaspoon of instant yeast, if you like, for a bit of insurance) and mix until a smooth dough is formed, adding more water as needed. Continue mixing to knead the dough until smooth and elastic, 5 to 7 minutes. Alternatively, mix the dough in a large bowl and knead by hand. Put the dough in a lightly oiled bowl, cover and set aside until doubled in bulk, about 2 1/2 hours (more or less depending on activity of your starter and whether you added yeast).
Preheat the oven to 500 degrees, with a pizza stone if you have one. If not, add a baking sheet to the oven about 10 minutes before baking the pita.
Transfer the dough to a lightly floured work surface, cut it into 12 equal pieces, and roll each into a ball. Cover the balls with a kitchen towel and let sit for 15 minutes. Roll each ball into a round of about 6 inches, letting them rest on the counter, covered with kitchen towels, for 15 minutes.
Carefully add a few dough rounds to the preheated stone or baking sheet. Bake until just lightly browned on the bottom and well puffed, about 3 minutes, then use long tongs to carefully transfer the pita to a wire rack. Continue baking the remaining dough rounds.
Makes 12 pita